Bibliotecha Manual
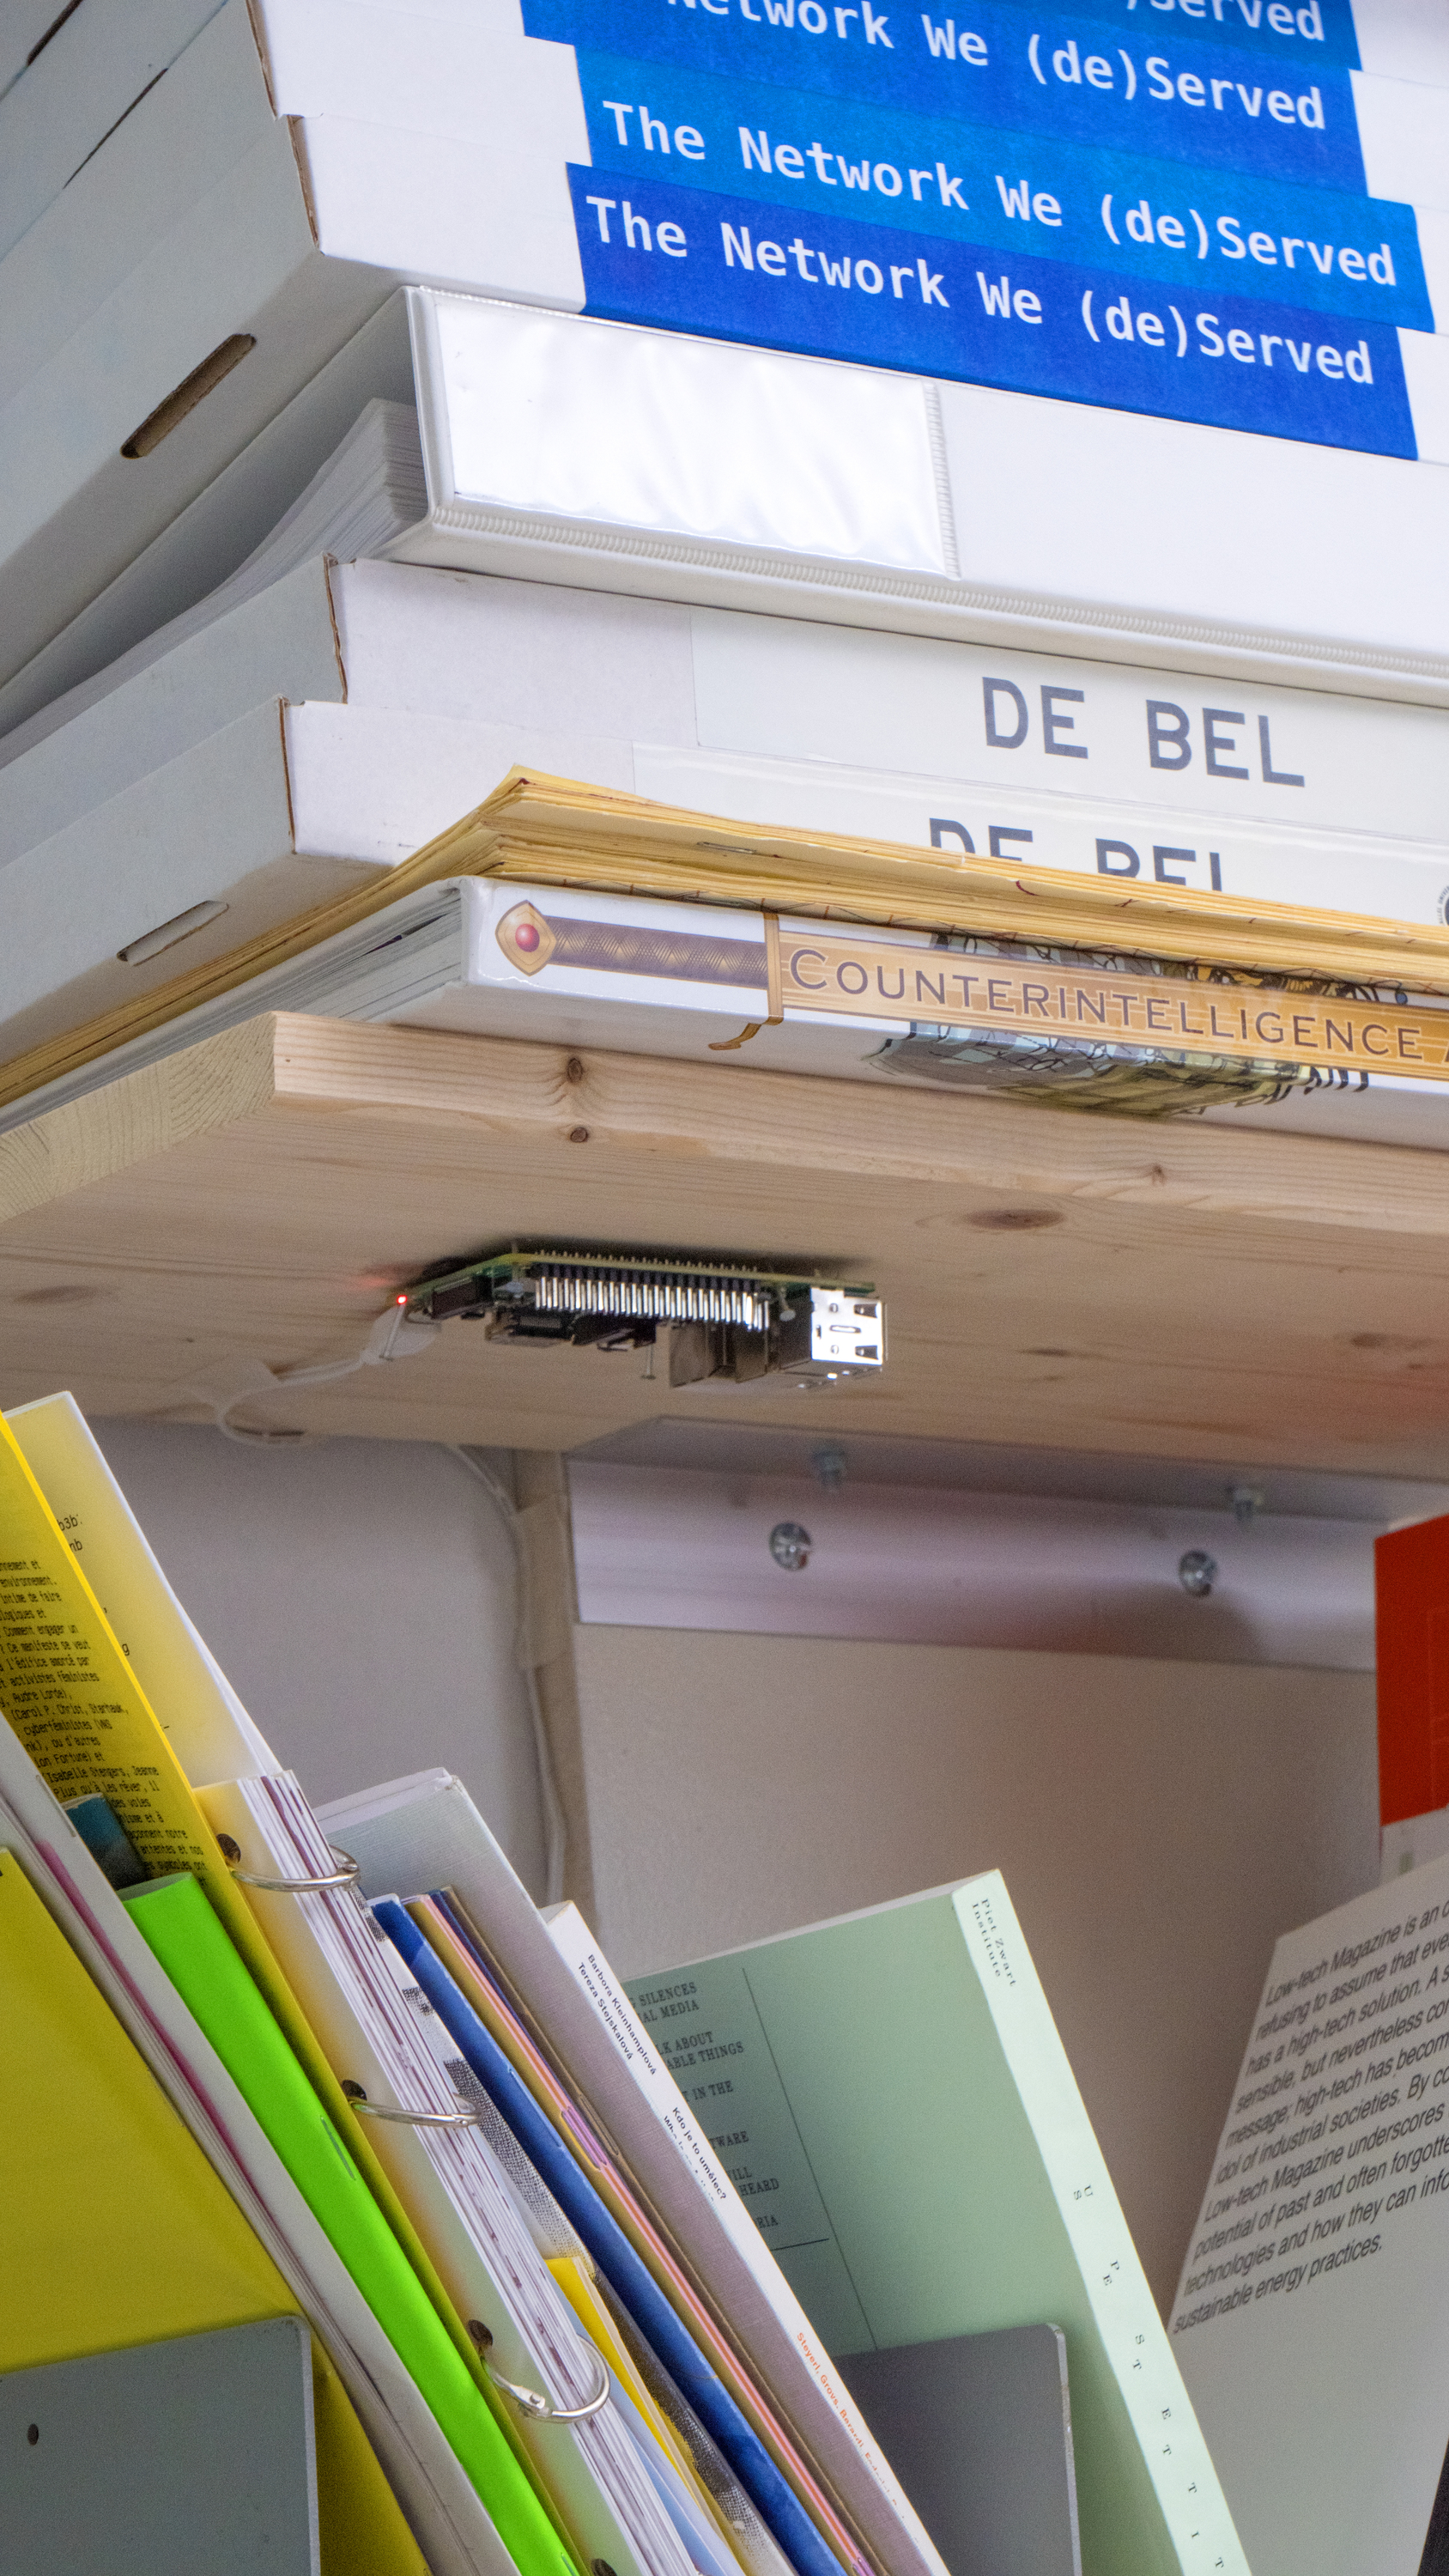
Bibliotecha is a framework to facilitate the local distribution of digital publications within a small community. It relies on a microcomputer running open-source software to serve books over a local wifi hotspot. Using the browser to connect to the library one can retrieve or donate texts. Bibliotecha proposes an alternative model of distribution of digital texts that allows specific communities to form and share their own collections.
Introduction
Welcome to the Bibliotecha manual! This guide serves as a human-friendly document for setting up an offline-first local library for yourself and your community.
Prerequisites
Bibliotecha is made specifically for use on the cheap and widely accessible Raspberry Pi single board computer and Debian based Raspbian operating system.
You should follow the official setup documentation on the Raspberry Pi website in order to get your board up and running. You will need to have access to the internet in order to download the necessary packages as well as access to the command-line.
The current latest Raspberry Pi 3 B+ model is recommended. This model is chosen because it offers a built-in wireless card for convenient networking and a sufficient memory allowance of 1GB. It is possible to use other models of board but they should at least provide these guarantees.
Raspbian Buster is the current latest recommended version of the standard Raspberry Pi operating system. Etcher is a useful and simple tool for flashing the operationg system onto the SD card which you will plug into your Raspberry Pi.
Pre-installation
Before getting started, we need to perform some preparatory steps. These steps must be completed successfully before moving on with the rest of the guide.
You should run the following commands at the command-line interface of your Raspberry Pi.
Firstly, we switch our user to the root account:
$ sudo -i
We then perform the initial system update and upgrade:
$ apt update
$ apt upgrade
We should then perform a number of steps within the raspi-config tool:
$ raspi-config
-
Change the user password
- Choose the
Change User Passwordoption. - It is important to configure your Raspberry Pi with a secure passphrase. A diceware passphrase is a recommended approach for choosing a sufficiently strong passphrase.
- Choose the
-
Choose a hostname
- Follow the
Network Options > Hostnameoptions. - The hostname will be the name that identifies the Raspberry Pi on the local network.
- Follow the
-
Configure predictable network interfaces
- Follow the
Network Options > Network interface namesoptions. - It is important to enable predictable network interface names so that the automatic installation script can detect which network interfaces are in use.
- Follow the
-
Configure the localisation
- Follow the
Localisation Options > Change Localeoptions. - It is recommended to ensure that the
en_GB.UTF-8 UTF-8locale is selected. This is the default. Once this is selected, select<Ok>on the two following dialogs to generate the locale.
- Follow the
-
Expand the SD card partition
- Follow the
Advanced Options > Expand filesystemoptions. - This allows more space on the SD card to be used. This is important for when you will start to place more and more digital books in your Bibliotecha.
- Follow the
The Raspi-config interface then ask you to restart the Raspberry Pi which you should do. If not, you can also run this from the command-line:
$ reboot
Remember, you will need to use your new user passphrase to access the Raspberry Pi after rebooting it. Make sure you store this passphrase somewhere safe!
Automated installation
It is now time to run the automatic installation. This script will install and configure all the necessary moving parts of Bibliotecha.
If you're interested in doing this process manually (for the purpose of learning, for example), a Manual installation guide is provided.
If you would first like to read the script, the source is available.
On the Raspberry Pi once again, run the following commands:
$ sudo -i
$ curl https://install.bibliotecha.info | bash
The script will automatically reboot your Raspberry Pi when it is finished.
If you run into any issues, please see the Troubleshooting section.
Post-installation
After rebooting, there should be a Wifi hotspot available with the name
Bibliotecha. You should wait a few minutes for this hotspot to become
available. This Wifi access point is being served from the Raspberry Pi. You
should be able to connect to this Wifi. It is not password protected.
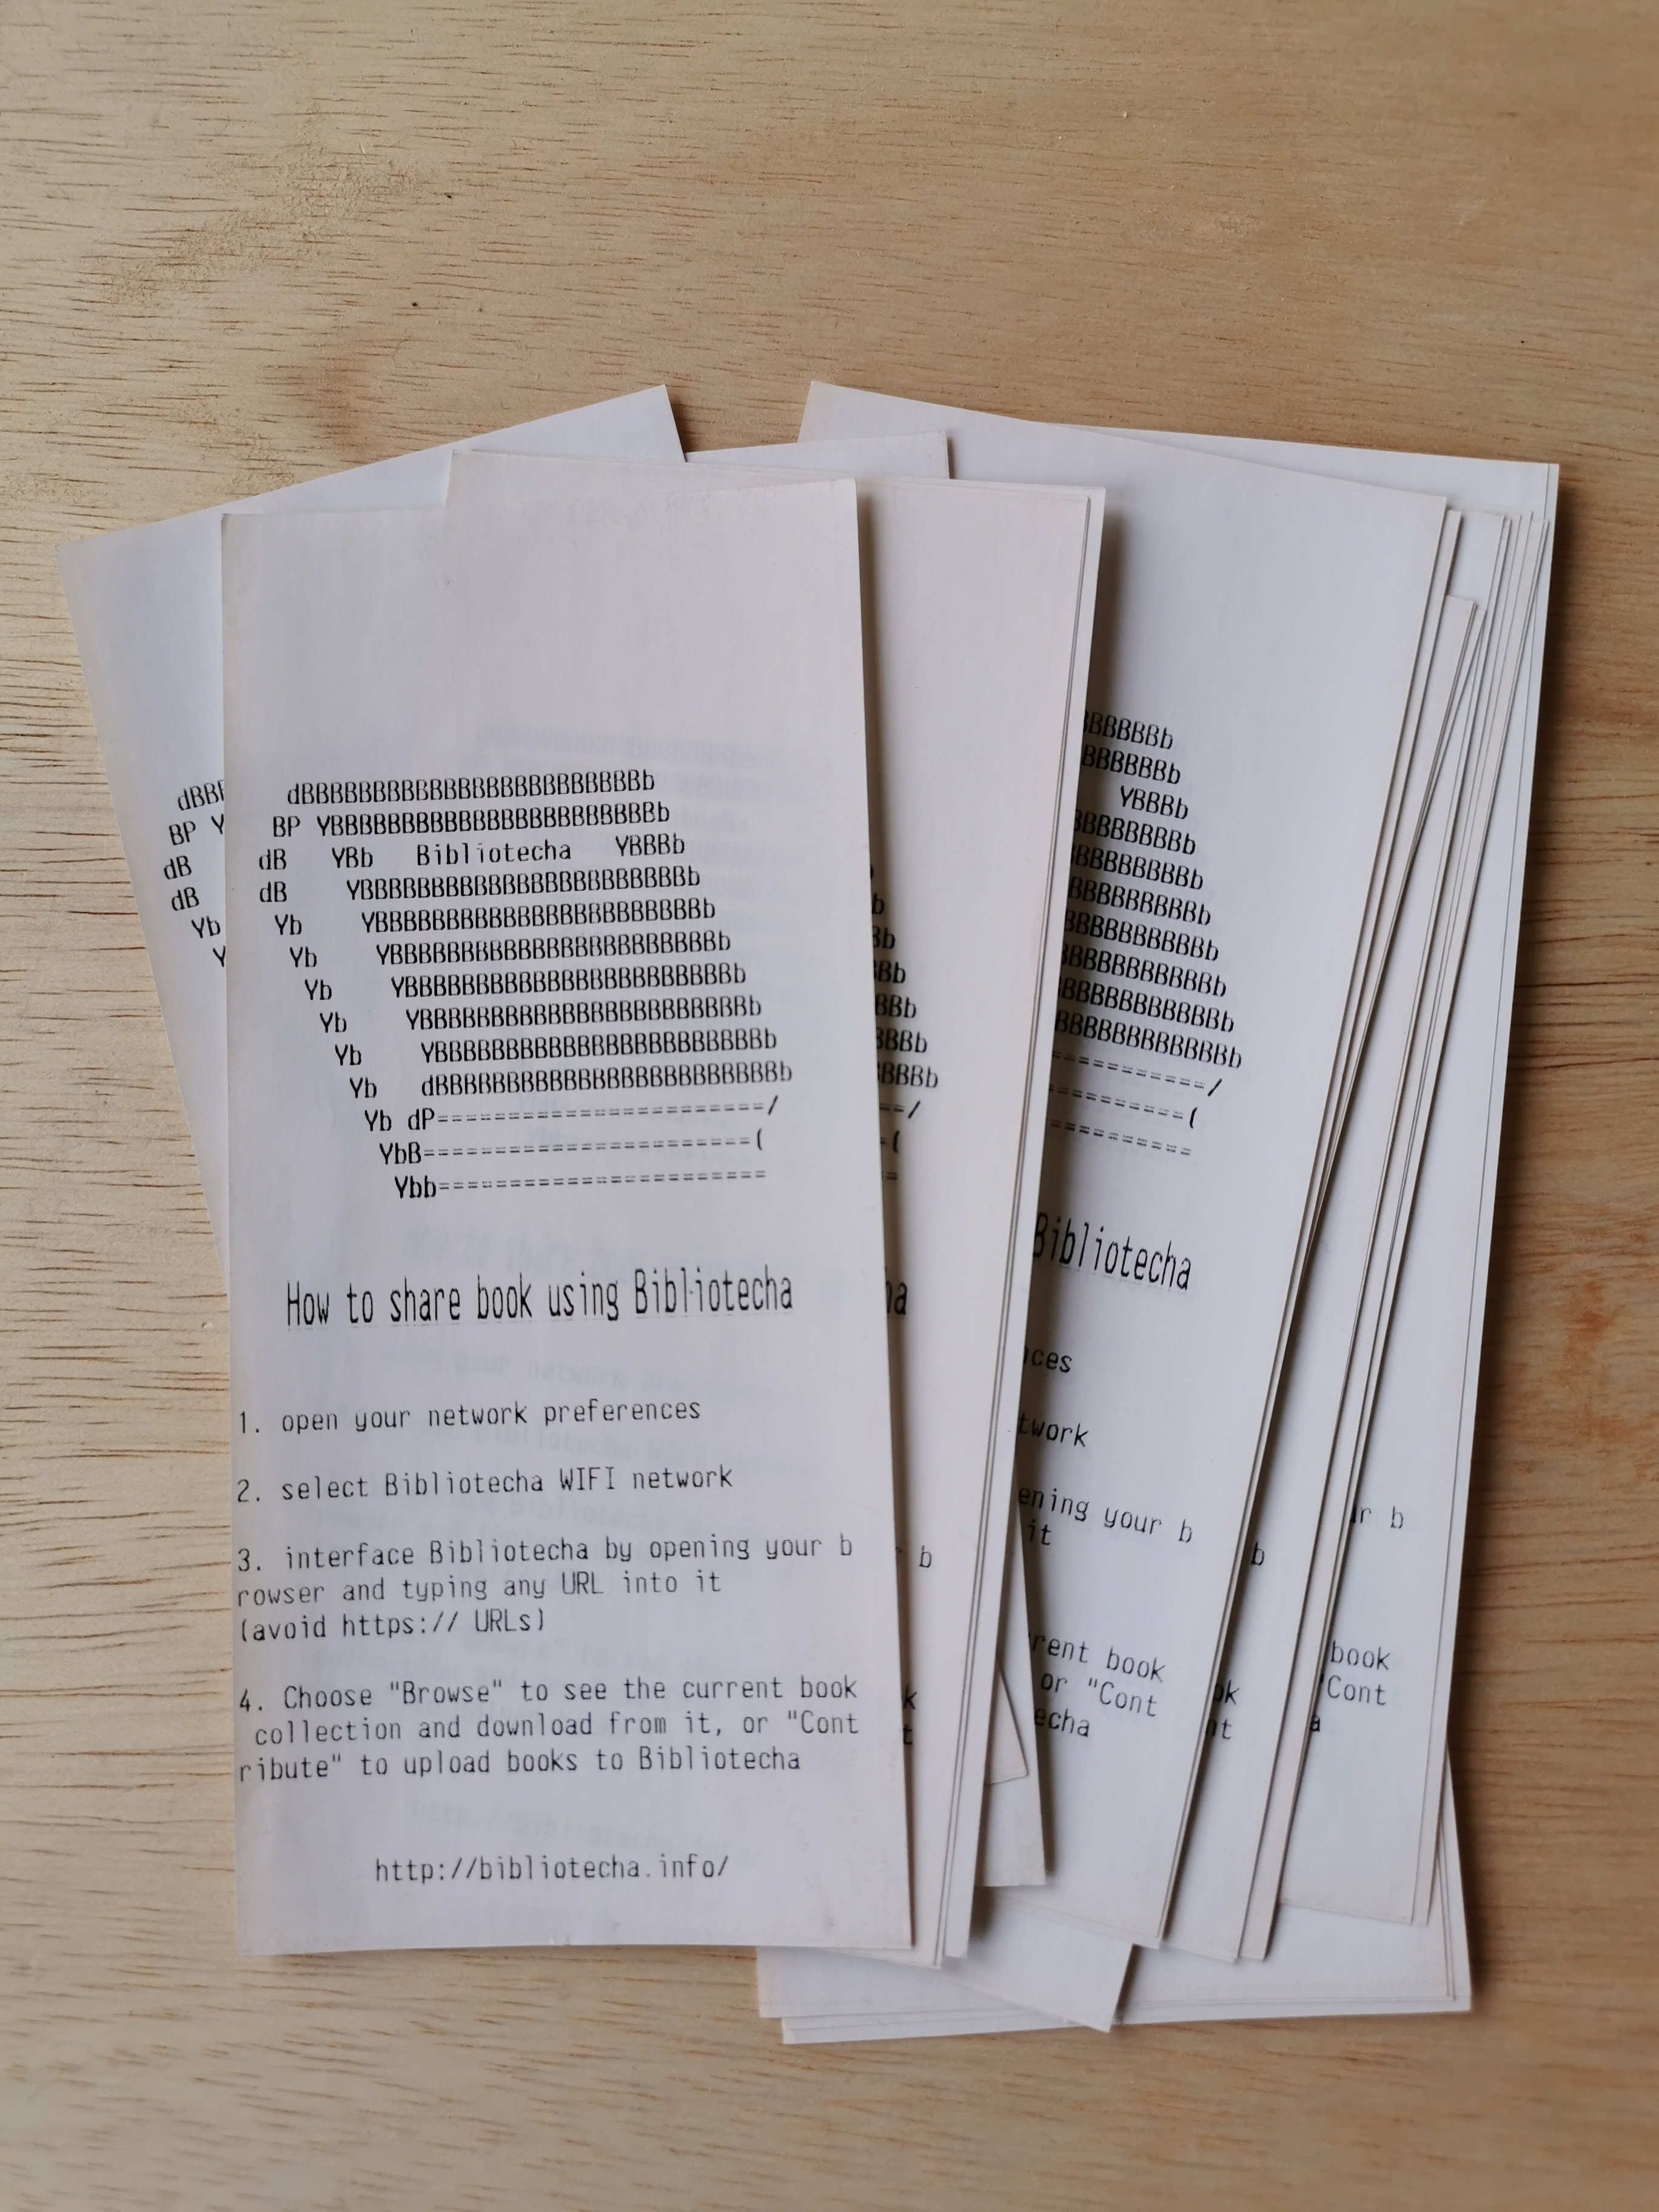
Once connected you should be directed to the so-called "captive portal" of the Bibliotecha where it explains how to enter the library and use it. The library should be available at http://bibliotecha.library.
It is recommended to customise your captive portal page to suite your own
needs. This file is available in the /var/www/bibliotecha/index.html
location. You should also take a look at customising your /etc/motd SSH
welcome banner.
You will be required to configure the Calibre-web installation. Extended configuration documentation is available from the Calibre-web wiki. The most important part is the "Location of Calibre database" for which you can enter the following path:
/opt/calibre-database
This is the default installation path used by the installation script.
You may also want to look at the "Feature Configuration" section where you can decide whether to allow uploading, anonymous browsing and allowing public registrations. These depend on your context and to whom you will serve the library to.
Click "Submit", "Login" and you will be redirected to the library login page. The default adminstration password login details are:
Username: admin
Password: admin123
You should change these details to secure your adminstration account.
Maintaining a Community Library
Once your Bibliotecha is configured you can start to think about how you and your community would like to maintain the library. You should ask yourself some questions:
- Who will be the digital librarians? The catalogue will need care.
- Will you allow public registrations? Will you allow public uploads?
- How will you publicise the library within the local context?
- What kind of library do you want to create? What are the themes?
- Who will be responsible for maintaing the system?
Understanding Bibliotecha Networking
Bibliotecha uses standard, venerable and stable GNU/Linux networking tools and configuration to enable the local-first networking setup. Installing, running and maintaining a network configuration is no easy topic! However, it is a useful skill to have. Overall, Bibliotecha is made up of the following programs and configurations:
- /etc/network/interfaces.d/: The network interface configuration
- /etc/hosts: The hostname definitions
- Hostap: The Wifi access point provider
- Dnsmasq: The DNS and DHCP server
- Dhcpcd: The DHCP client
- Calibre: The library database
- Calibre-web: The library web application
- Lighttpd: The web server
When your Bibliotecha is setup and running, it is doing a number of things. It is first serving a Wireless access point (Hostap) which your devices can connect to. After you connect, your device is given an IP address on the local network (Dnsmasq and Dhcpcd) as well as a local DNS entry (mydevice.library, for example). Once you open a web browser, it will indicate that you need to log into the network, but in fact you are brought to a web page (Lighttpd) which shows you how to reach the library web application (Calibre-web).
Troubleshooting
Because Bibliotecha is made up of a number of moving parts it is not feasible for this manual to cover all the possible issues. However, we try our best here to provide context, background, useful tips and tricks to help you become familiar with fixing your Bibliotecha. We recommend a DIWO (Do It With Others) approach!
Please make sure to take some time to read Understanding Bibliotecha Networking so that you are familiar with all the moving pieces. When troubleshooting, it is important to narrow down which piece of the puzzle is responsible. To do this, you need to know what the pieces are.
If all else fails, please send an email to the public mailing list.
All of the following commands should be run as the root user.
I cannot connect to the internet from the Raspberry Pi
If you are connecting an Ethernet cable to your Bibliotecha in order to connect it to your local router and have access to the internet, then you might notice that the requests do reach their destination.
Bibliotecha is configured to capture all the network requests it receives and
point them to the library interface. You will need to temporarily disable the
dnsmasq service:
$ systemctl stop dnsmasq
It should then be possible to connect to the wider internet now.
The wireless access point is not available
The access point is responsibility of the hostapd program. You should check
the status of the running service with:
$ systemctl status hostapd
If there are errors, you can see the logs with:
$ journalctl -u hostapd
You may also attempt to restart this service afterwards:
$ systemctl restart hostapd
You may also want to inspect the /etc/hostapd/hostapd.conf configuration.
I do not receive an IP address when I connect
Providing IP addresses is the responsibility of the dnsmasq and dhcpcd
service. You should check the status of dnsmasq with:
$ systemctl status dnsmasq
You should make sure that dhcpcd is running with:
$ dhcpcd5
How to upgrade Calibre-web
You'll need to re-connect your Bibliotecha to the internet with an ethernet cable and then run the following commands:
$ systemctl stop cps
$ cd /var/www/calibre-web
$ git pull origin master
$ .venv/bin/pip install -r requirements.txt
$ systemctl start cps
Manual installation
It is possible to install Bibliotecha manually. This can be useful and fun if you would like to learn more about GNU/Linux networking tools and interfaces. These skills are generally useful but especially so when considering community networks.
The following guide follows the steps of the automatic installation script.
Changing to Root
All commands should be run as the root user.
Change the user to the root user with:
$ sudo -i
Update the System
We should update the system before going further:
$ apt update
This makes sure that we have the latest package listing from the online Debian package list.
Install Networking Packages
We then need to install the networking packages that we will need:
$ apt install -y \
    dhcpcd \
    dnsmasq \
    dnsutils \
    hostapd \
    wireless-tools
Afterwards, we'll make sure to stop these services running while we work on the installation right now. We can do that with:
$ systemctl stop dnsmasq
$ systemctl stop hostapd
We do want these services to be enabled when we reboot though:
$ systemctl unmask hostapd
$ systemctl enable hostapd
$ systemctl enable dnsmasq
We'll also want to disable and stop the avahi-daemon which we won't be using
since we rely on dnsmasq to handle our DNS configuration and serving:
$ systemctl stop avahi-daemon
$ systemctl disable avahi-daemon
Configure Network Interfaces
We now need to configure our network interfaces. The network interfaces correspond to the Ethernet port and the Wireless card. These are how the Raspberry Pi connect to other devices for networking uses.
We need to learn the names of our network interfaces:
$ ip a
The ethernet interface is the name beginning with "en" and the wireless interface is the one beginning with "wl". These are the predictable inteface naming conventions which we rely on.
For the following steps, I assume the following:
- Ethernet: enx78e7d1ea46da
- Wireless: wlp2s0
We then configure the ethernet interface. We put the following in
/etc/network/interfaces.d/enx78e7d1ea46da:
auto eth0
allow-hotplug enx78e7d1ea46da
iface enx78e7d1ea46da inet dhcp
This configuration allows the default behaviour for the Ethernet interface. When you plug in an ethernet cable, typically coming from your local network router, you will receive a dynamic IP from that router. This makes it easy to reach the internet later.
We then configure the wireless interface. We put the following in
/etc/network/interfaces.d/wlp2s0:
auto wlp2s0
iface wlp2s0 inet static
  address 10.0.0.1
  netmask 255.255.255.0
This configuration sets up a static IP address for the wireless interface. We do this so as to put the IP address within the range of the addresses which we allow in the local network. We will configure this range in the following step.
Configure Dnsmasq
In the /etc/dnsmasq.d/wlp2s0.conf file, we put the following:
bogus-priv
server=/library/10.0.0.1
local=/library/
address=/#/10.0.0.1
interface=wlp2s0
domain=library
dhcp-range=10.0.0.50,10.0.0.200,255.255.255.0,12h
dhcp-option=3,10.0.0.1
dhcp-option=6,10.0.0.1
dhcp-authoritative
This configuration sets up a local .library domain and a range of IP
addresses that can be assigned in the 10.0.0.50 - 10.0.0.200 range. It
also makes sure to resolve all unknown domain requests to the 10.0.0.1 IP.
This is useful for the purposes of the captive portal configuration later on.
Configure Hostapd
We need to set up the wireless access point too. In the
/etc/hostapd/hostapd.conf we add:
interface=wlp2s0
ssid=Bibliotecha
hw_mode=g
channel=11
auth_algs=1
We also need to make sure that hostapd uses this configuration. We have to
ensure that the following is uncommented and present in the
/etc/default/hostapd file:
DAEMON_CONF="/etc/hostapd/hostapd.conf"
Configure the Hosts file
We need to register the library on the network. In the /etc/hosts file we put
the following at the end of the file after all the other entries:
10.0.0.1 bibliotecha.library
Install and Configure Lighttpd
Moving on, we should install the web server which will respond to network requests and return the web pages of the library interface. We can install Lighttpd with:
$ apt install -y lighttpd
When then need to make sure that the following configuration is available in
the /etc/lighttpd/lighttpd.conf file:
server.document-root = "/var/www"
server.modules += ("mod_proxy",)
include "bibliotecha/bibliotecha.conf"
When then create the Bibliotecha configuration with:
$ mkdir /etc/lighttpd/bibliotecha
And then make sure the following is in the
/etc/lighttpd/bibliotecha/bibliotecha.conf file:
server.error-handler-404 = "/bibliotecha/index.html"
$HTTP["host"] == "bibliotecha.library" {
  proxy.server = ("" => (("host" => "127.0.0.1", "port" => "8083")))'
}
This ensures that all unknown requests are pointed to the captive portal page
of Bibliotecha. And when we request the http://bibliotecha.library domain, we
are then pointed to the Calibre-web installation.
Install and Configure Calibre
Calibre is responsible for maintaining the underyling database of the library. We can install it with:
$ apt install -y calibre
This will take some time as there are man required packages. Once it if finished, you will then need to create a new database for the Calibre-web installation to use.
We should run the following:
$ mkdir /opt/calibre-database
$ /usr/bin/calibredb restore_database --really-do-it /opt/calibre-database
Configure the Captive Portal
When we connect to the Bibliotecha wireless access point, we will be directed to a splash page where we are introduced to the library. We need to set that up:
$ mkdir /var/www/bibliotecha
And then we download the default page into location:
$ apt install -y wget
$ wget https://git.vvvvvvaria.org/varia/bibliotecha-captive-portal/raw/branch/master/index.html -O /var/www/bibliotecha/index.html
We should also ensure that the correct ownership permissions are configured:
$ chown -R www-data: /var/www/bibliotecha
Install and Configure Calibre-web
We now setup the Calibre-web installation. We first get a copy of the source with:
$ mkdir /var/www/calibre-web
$ git clone https://github.com/janeczku/calibre-web /var/ww/calibre-web
$ cd /var/www/calibre-web
We then need to install the Python dependencies with:
$ python3 -m venv .venv && .venv/bin/pip install -r requirements.txt
And finally configure the service to be run by Systemd. In the
/etc/systemd/system/cps.service we need to add:
Description=Calibre-Web

[Service]
Type=simple
User=root
ExecStart=/var/www/calibre-web/.venv/bin/python /var/www/calibre-web/cps.py
WorkingDirectory=/var/www/calibre-web

[Install]
WantedBy=multi-user.target
And we also enable this to run on reboot:
$ systemctl enable cps.service
We should also ensure that the correct ownership permissions are configured:
$ chown -R www-data: /var/www/calibre-web
Setup a new MOTD
When you SSH into the Raspberry Pi, you can enable a nice welcome message.
This is possible bu putting the following in the /etc/motd/ file:
  ____  _ _     _ _       _            _
 |  _ \(_) |   | (_)     | |          | |
 | |_) |_| |__ | |_  ___ | |_ ___  ___| |__   __ _
 |  _ <| | '_ \| | |/ _ \| __/ _ \/ __| '_ \ / _` |
 | |_) | | |_) | | | (_) | ||  __/ (__| | | | (_| |
 |____/|_|_.__/|_|_|\___/ \__\___|\___|_| |_|\__,_|

       Digital books need libraries too
Conclusion
That's it! You should now reboot your Raspberry Pi with:
$ reboot
You can now follow the post-installation steps.
Contributing
Bibliotecha is made up of the following projects:
All contributions are welcome!
You can also find us on the mailing list.
Acknowledgements
- The Calibre project
- The Calibre-web project
Contributors to Bibliotecha have been Yoana Buzova, Lasse van den Bosch Christensen, Andre Castro, Lucia Dossin, Max Dovey, Michaela Lakova, Luke Murphy and Roel Roscam Abbing